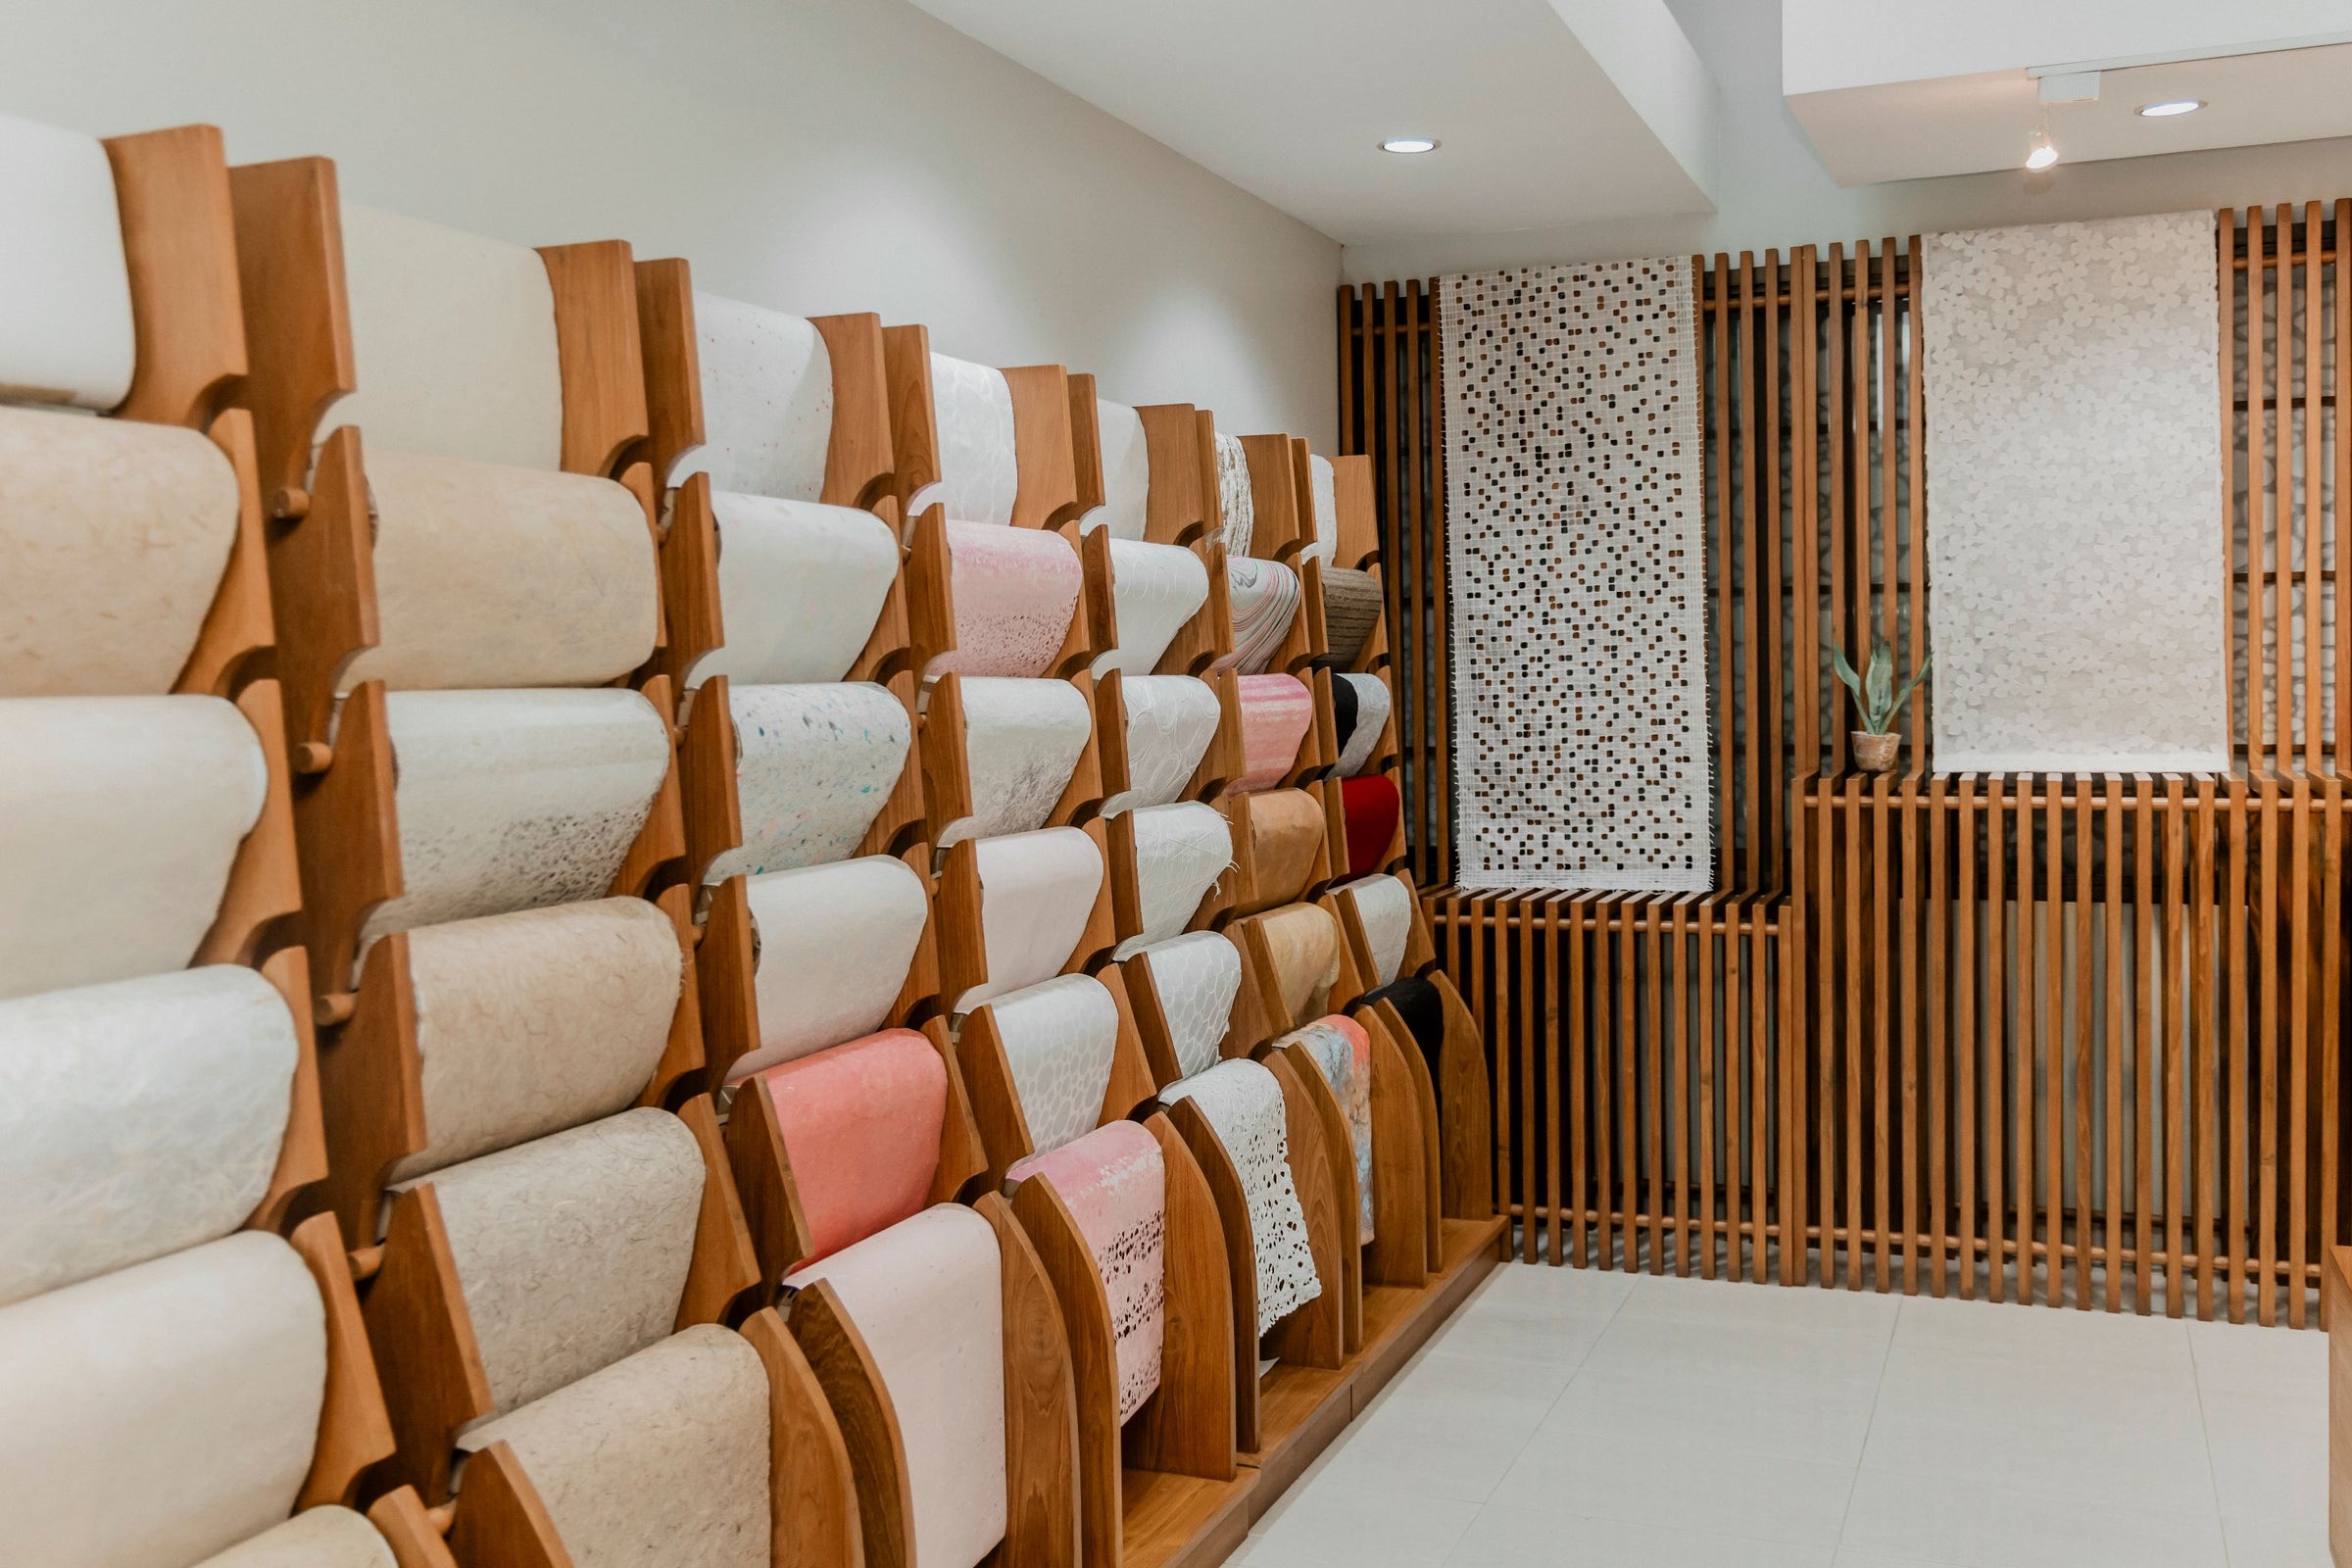


Joomchi Art Guide: How to Craft with Hanji Mulberry Paper
Among traditional paper crafts, Joomchi has seen a major surge in popularity over the past months. Originating in Korea, Joomchi is the centuries-old art of transforming flat sheets of Hanji paper into strong, textured, leathery fiber art, using nothing more than water, manual agitation, and patience.
Mulberry Paper is Hanji Paper
Hanji, Kozo, Washi, and Mulberry paper are practically the same material. These papers share the exact same inner bark fibers from the paper mulberry tree and made through the same core craft techniques. In fact, a sheet of paper might be called Washi in Japan, Hanji in Korea, Saa in Thailand, and Mulberry Paper in the West.
Character & Characteristics of Mulberry Paper for Joomchi
Why does mulberry paper work so remarkably well for Joomchi compared to standard wood-pulp paper?
- Exceptionally Long Fibers: The inner bark fibers of the paper mulberry tree are naturally long and flexible. During Joomchi, these fibers interlock and felt together under pressure, forming a strong unified sheet.
- High Wet Strength: Unlike standard wood-pulp paper that disintegrates upon contact with water, mulberry paper retains remarkable tensile strength when soaked.
- Flexibility and Memory: As mulberry paper is kneaded, compressed, and agitated, it develops a rich, leather-like texture with organic surface wrinkles and dimensional depth.
- Absorbency & Layering: Mulberry paper readily absorbs water and dyes, allowing artists to fuse multiple colored sheets into seamless gradient compositions without requiring synthetic glues.
Materials & Equipment
Before beginning your Joomchi journey, gather these basic studio tools and materials:

| Item | Purpose & Specifications |
| Mulberry Paper (Hanji / Kozo) |
Ideal Weight: 20–50 gsm (Grams per Square Meter) • Lightweight (< 25 gsm): Great for top accents, translucent overlays, details, or if yoi want to create 5+ layers. • Medium/Standard (25–50 gsm): Ideal for general Joomchi technique. Heavy enough to withstand manual kneading, yet thin enough for fibers to interlock quickly (4 to 5 layers recommended). • Heavyweight (70+ gsm): Excellent for sturdy structural bases, but requires more water and prolonged agitation to felt properly. |
| Work Surface Mat | Flat plastic sheet, cellophane, or bubble wrap to protect your surface and prevent wet paper from sticking to the table. |
| Water Supply & Spray Bottle | Room-temperature clean water for initial wetting, plus a fine-mist spray bottle to maintain dampness during kneading. |
| Soft Water Brush (Optional) | A wide, soft-bristle brush to apply water smoothly. |
| Soft Foam Roller (Optional) | A DIY roller made from soft foam pipe lagging or a soft printmaking brayer to roll out trapped air bubbles. |
| Bamboo Felting Blind (Optional) | A traditional reed/bamboo rolling mat (used in wool felting or sushi making) to speed up fiber locking while keeping crisp design lines intact. |
| Towel / Sponge | To absorb excess water squeezed out during agitation. |
| Inclusions (Optional) | Silk threads, skeleton leaves, or thin fabric scraps to sandwich between paper layers. |
How to Make Joomchi Using Mulberry Paper for Beginners
Joomchi relies on wet-felting principles, using moisture, friction, and agitation to breakdown pulp and interlock mulberry filaments into a single cohesive sheet. In this example, we will use Unryu 25 gsm papers and for Joomchi.
Step 1: Prepare & Wet the Base
Lay a flat sheet of plastic or cellophane down. Lay down your base sheet of mulberry paper. Gently brush clean water onto the paper , or spray it thoroughly.

Step 2: Layer Colors & Designs
Layer 4 to 5 sheets on top. Wet each new layer carefully. Add pops of contrasting colors, torn shapes, or accents—as the paper felts, these underneath colors will break through and bleed to the surface.

Step 3: Hydrate & Remove Air Bubbles
Wet each new layer carefully. Use a roller or soft hand pressure to roll from the center outward, eliminating all trapped air bubbles.

Step 4: Choose Your Felting Method (Two Approaches)
-
The Traditional Massaging Method (Creates Organic Blends): Gently roll the wet stack by hand. Massage, squeeze, and pass the paper ball from hand to hand for 20 minutes, periodically unfolding and refolding in alternate directions.


- The Bamboo Blind / Roller Method (Sharper Designs): Place your wet stack on a wet-felting bamboo mat or bubble wrap. Roll it up tightly and roll back and forth 50+ times, applying firm pressure from center to edge. Turn the roll periodically to prevent uneven shrinkage. This keeps patterns crisp and fixed.

Gently lift and open your felted piece. Lay it flat or mold it into sculptural contours while still damp. Once dry, your Joomchi piece transforms into a surprisingly strong, leather-like textile.

Tips and Tricks for Joomchi Success
To get the most out of your mulberry paper when creating Joomchi art:
-
Paper Weight Strategy: For beginners, standard 25-40 gsm paper is forgiving and felts quickly. If combining different weights, put a heavier 50+ gsm sheet at the base for stability and use lighter 20–30 gsm sheets on top for subtle design layers.
-
Embrace the "Mistakes" (Patching is Easy): If your wet paper rips or tears during agitation, don't worry! Until the paper dries and seals completely, you can easily patch holes by laying smaller pieces of wet mulberry paper directly over the tear and felting them right in.
-
Gentle Handling When Wet: Avoid rough manhandling during the early wetting stage, save stronger squeezing for when fibers have started felting together.
-
Control Your Layering: Darker papers (like black) will show through lighter layers (like white or yellow). Place bright accent colors over dark base layers so they break through as the fibers interlock. Because all of our colored papers feature color-fixing, the dyes won't bleed, giving you total control over your finished design.
-
A bit of cheating: Adding a small amount of water-based glue to your water strengthens the paper and helps the layers fuse securely with less felting, preserving crisp, defined design details.
-
Experiment with Finishes: Once fully dry, try sealing or treating your Joomchi paper with natural oils (such as nut oil) to enhance translucency, deepen colors, and make the leathery sheen pop when held to the light.
Best Kozo Studio Mulberry Papers for Joomchi
With Kozo Studio’s extensive range of mulberry papers, the creative possibilities for Joomchi are endless. By combining different paper weights, rich textures, and artisanal finishes, you can craft a truly one-of-a-kind piece of fiber art.

In Praise of Moonlight No.2 (2024) by Jittimon Manthranon the owner of Analogift showcases variety of our papers i n Joomchi.
1. Common Papers for Your Joomchi Base
When building the core layers of your Joomchi piece, you need versatile papers that balance structural strength with flexibility.
-
Plain Hanji Paper (37 gsm): The absolute foundation for Joomchi. Medium-weight Kozo paper provides enough body to handle vigorous kneading without disintegrating, while allowing water to break down pulp just enough for long filaments to interlock seamlessly.
-
Unryu Paper (25 gsm): Famous for its visible, flowing mulberry bark strands running throughout the sheet. Incorporating Unryu into your top layers adds organic movement, silky fiber highlights, and dynamic lines as the sheets felt together.
2. Unique & Specialty Papers
Once you have your structural base layers, you can experiment with specialty papers to add dramatic surface texture and visual depth. Below are what can make your work outstanding.
-
Thin, Uniquely Textured Papers: These example of delicate sheets add subtle surface dimension and intricate visual interest without adding unnecessary bulk to your Joomchi layers.
-
Inclusion Papers (Petal, Leaf, & Mixed Materials): Papers embedded with real flower petals, skeleton leaves, or a variety of natural materials add effortless sophistication to your artwork.
-
Tread Papers: These mulberry papers add tactile beauty to your work
-
Strong backing (70 gsm): Use a single sheet of 70 gsm Kozo as a rigid backing layer if you are creating 3D vessels, bowls, or sculptural wall pieces.
-
Ultra-Thin Overlay Papers (<10 gsm): Place a gossamer-thin, translucent white tissue over a vibrant, multi-colored collage. During Joomchi, the top tissue will veil the colors below, softening harsh edges and creating a dreamlike, painterly haze.